Handledning för 3D Worm Controller för Unity
I den här handledningen kommer jag att visa hur man skapar en enkel maskkontroll i Unity, inspirerad av TornadoTwins spelutvecklingsguide för nybörjare serier.
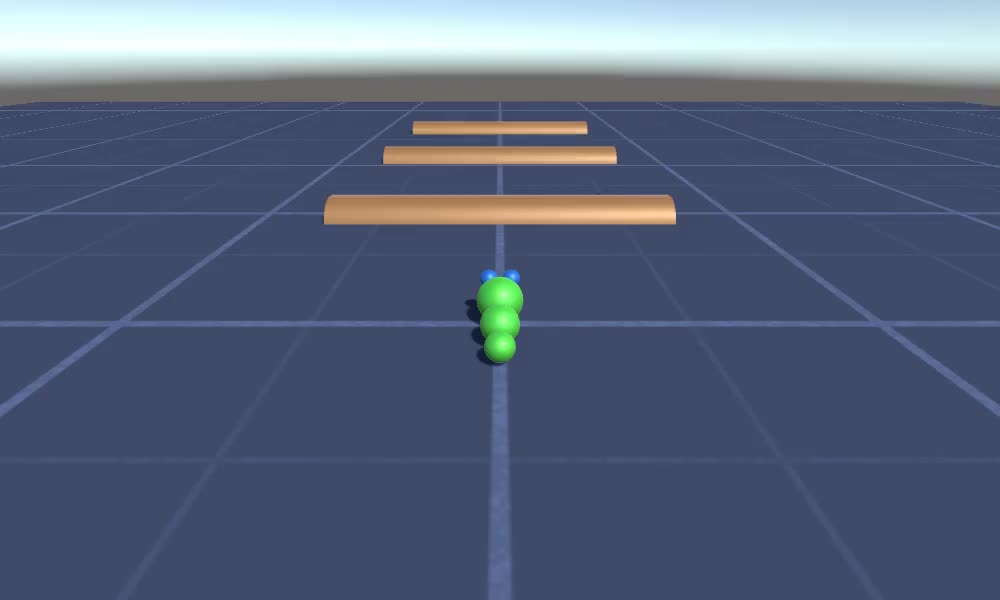
Maskkontrollen kommer att glida runt med en mjuk svansföljande effekt och har förmågan att hoppa.
Skripten i denna handledning skrevs ursprungligen i JavaScript (alias UnityScript) som inte längre stöds, så jag kommer att tillhandahålla ett C#-alternativ.
För att skapa en maskkontroll i Unity behöver vi:
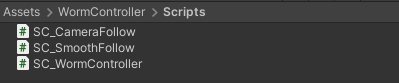
- Skapa de nödvändiga skripten
- Skapa en maskkaraktär
- Tilldela skripten till karaktären
Steg 1: Skapa alla nödvändiga skript
Låt oss börja med att skapa alla skript som kommer att behövas för att ställa in en maskkontroller:
- Skapa ett nytt skript, kalla det "SC_WormController" och klistra in koden nedan i det:
SC_WormController.cs
using System.Collections;
using System.Collections.Generic;
using UnityEngine;

[RequireComponent(typeof(CharacterController))]
public class SC_WormController : MonoBehaviour
{
    public float speed = 3.0f;
    public float rotateSpeed = 1.0f;
    public float jumpSpeed = 5.0f;
    public float gravity = 9.8f;

    CharacterController controller;
    Vector3 moveDirection;

    // Start is called before the first frame update
    void Start()
    {
        controller = GetComponent<CharacterController>();
    }

    // Update is called once per frame
    void Update()
    {
        // Rotate around y - axis
        transform.Rotate(0, Input.GetAxis("Horizontal") * rotateSpeed, 0);

        // Move forward / backward
        Vector3 forward = transform.TransformDirection(Vector3.forward);
        float curSpeed = speed * Input.GetAxis("Vertical");
        float movementDirectionY = moveDirection.y;
        moveDirection = forward * curSpeed;

        // Jumping
        if (Input.GetButtonDown("Jump") && controller.isGrounded)
        {
            moveDirection.y = jumpSpeed;
        }
        else
        {
            moveDirection.y = movementDirectionY;
        }

        // Apply gravity. Gravity is multiplied by deltaTime twice (once here, and once below
        // when the moveDirection is multiplied by deltaTime). This is because gravity should be applied
        // as an acceleration (ms^-2)
        if (!controller.isGrounded)
        {
            moveDirection.y -= gravity * Time.deltaTime;
        }

        // Move the controller
        controller.Move(moveDirection * Time.deltaTime);
    }
}- Skapa ett nytt skript, kalla det "SC_CameraFollow" och klistra in koden nedan i det:
SC_CameraFollow.cs
using System.Collections;
using System.Collections.Generic;
using UnityEngine;

public class SC_CameraFollow : MonoBehaviour
{
    /*
    This camera smoothers out rotation around the y-axis and height.
    Horizontal Distance to the target is always fixed.

    There are many different ways to smooth the rotation but doing it this way gives you a lot of control over how the camera behaves.

    For every of those smoothed values we calculate the wanted value and the current value.
    Then we smooth it using the Lerp function.
    Then we apply the smoothed values to the transform's position.
    */

    // The target we are following
    public Transform target;
    // The distance in the x-z plane to the target
    public float distance = 10.0f;
    // the height we want the camera to be above the target
    public float height = 5.0f;
    // How much we
    public float heightDamping = 2.0f;
    public float rotationDamping = 3.0f;

    void LateUpdate()
    {
        // Early out if we don't have a target
        if (!target)
            return;

        // Calculate the current rotation angles
        float wantedRotationAngle = target.eulerAngles.y;
        float wantedHeight = target.position.y + height;
        float currentRotationAngle = transform.eulerAngles.y;
        float currentHeight = transform.position.y;

        // Damp the rotation around the y-axis
        currentRotationAngle = Mathf.LerpAngle(currentRotationAngle, wantedRotationAngle, rotationDamping * Time.deltaTime);

        // Damp the height
        currentHeight = Mathf.Lerp(currentHeight, wantedHeight, heightDamping * Time.deltaTime);

        // Convert the angle into a rotation
        Quaternion currentRotation = Quaternion.Euler(0, currentRotationAngle, 0);

        // Set the position of the camera on the x-z plane to:
        // distance meters behind the target
        transform.position = target.position;
        transform.position -= currentRotation * Vector3.forward * distance;

        // Set the height of the camera
        transform.position = new Vector3(transform.position.x, currentHeight, transform.position.z);

        // Always look at the target
        transform.LookAt(target);
    }
}- Skapa ett nytt skript, kalla det "SC_SmoothFollow" och klistra in koden nedan i det:
SC_SmoothFollow.cs
using System.Collections;
using System.Collections.Generic;
using UnityEngine;

public class SC_SmoothFollow : MonoBehaviour
{
    // The target we are following
    public Transform target;
    // The distance in the x-z plane to the target
    public float distance = 10.0f;
    // the height we want the camera to be above the target
    public float height = 5.0f;
    // How much we
    public float heightDamping = 2.0f;
    public float rotationDamping = 3.0f;

    // Start is called before the first frame update
    void Start()
    {
        if (!target) return;

        transform.LookAt(target);
    }

    void LateUpdate()
    {
        // Early out if we don't have a target
        if (!target) return;

        // Calculate the current rotation angles
        float wantedRotationAngle = target.eulerAngles.y;
        float wantedHeight = target.position.y + height;

        float currentRotationAngle = transform.eulerAngles.y;
        float currentHeight = transform.position.y;

        // Damp the rotation around the y-axis
        currentRotationAngle = Mathf.LerpAngle(currentRotationAngle, wantedRotationAngle, rotationDamping * Time.deltaTime);

        // Damp the height
        currentHeight = Mathf.Lerp(currentHeight, wantedHeight, heightDamping * Time.deltaTime);

        // Convert the angle into a rotation
        var currentRotation = Quaternion.Euler(0, currentRotationAngle, 0);

        // Set the position of the camera on the x-z plane to:
        // distance meters behind the target
        transform.position = target.position;
        transform.position -= currentRotation * Vector3.forward * distance;

        // Set the height of the camera
        transform.position = new Vector3(transform.position.x, currentHeight, transform.position.z);

        // Always look at the target
        transform.LookAt(target);
    }
}
Steg 2: Skapa en maskkaraktär
Nästa steg är att skapa en maskkaraktär:
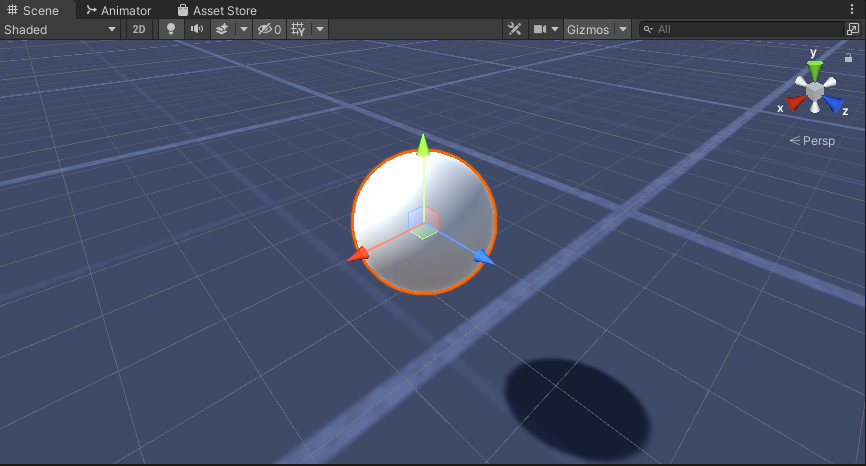
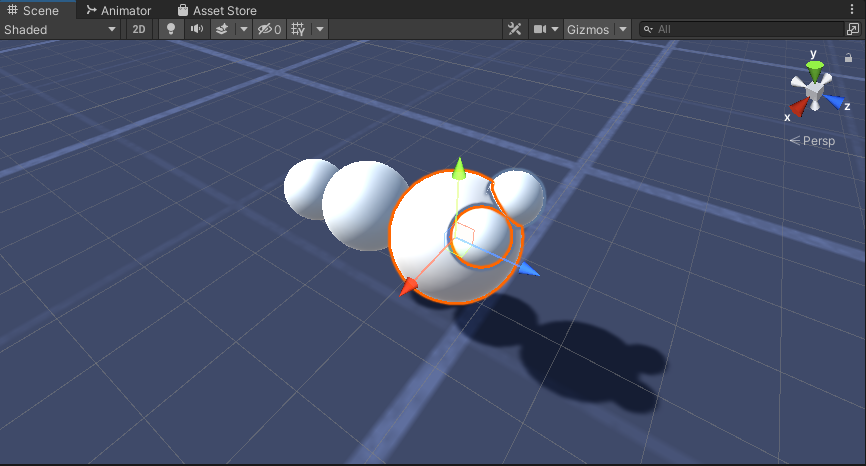
- Skapa en ny Sphere (GameObject -> 3D Object -> Sphere) ändra dess position till (0, 0, 0), ta bort dess SphereCollider-komponent och byt namn på den till "Worm"
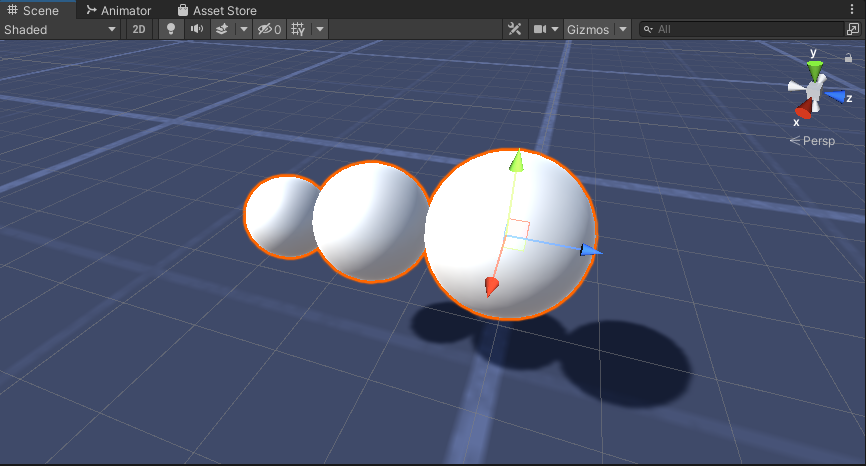
- Duplicera "Worm"-sfären, byt namn på den till "BodyPart1", ändra dess position till (0, -0,1, -0,9) och ändra dess skala till (0,8, 0,8, 0,8)
- Duplicera "Worm"-sfären igen, byt namn på den till "BodyPart2", ändra dess position till (0, -0,2, -1,6) och ändra dess skala till (0,6, 0,6, 0,6)
- Högerklicka på objektet "Worm" -> Skapa tomt och byt namn på det nyskapade objektet till "Eyes"
- Duplicera "BodyPart2"-sfären, döp om den till "Eye" och flytta den inuti "Eyes"-objektet, ändra dess position till (-0.24, 0.353, 0.324) och ändra dess skala till (0.4, 0.4), 0,4)
- Duplicera "Eye"-sfären och ändra dess X-position till 0,24
- För visualiseringen kan du skapa några material, till exempel grönt för kroppen och blått för ögonen.
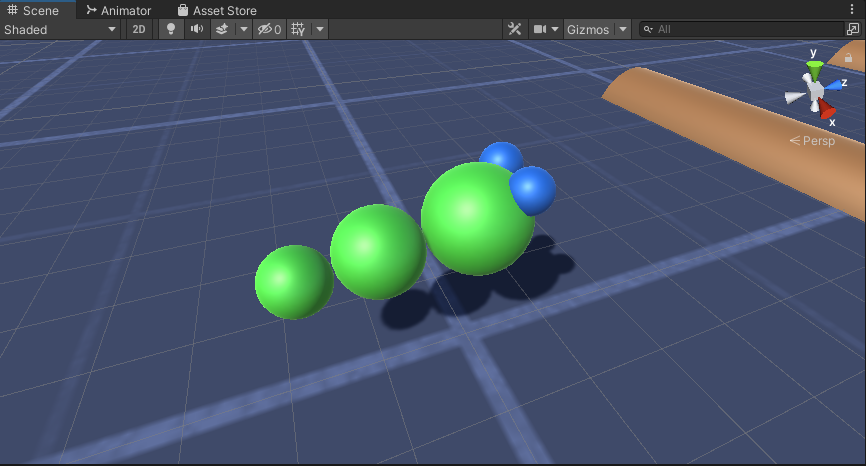
Maskkaraktären är klar.
Steg 3: Konfigurera Worm Controller
Det sista steget är att tilldela skripten:
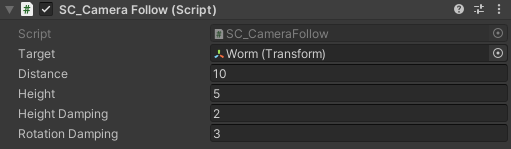
- Fäst SC_CameraFollow-skriptet till huvudkameraobjektet och tilldela "Worm"-sfären till målvariabeln:
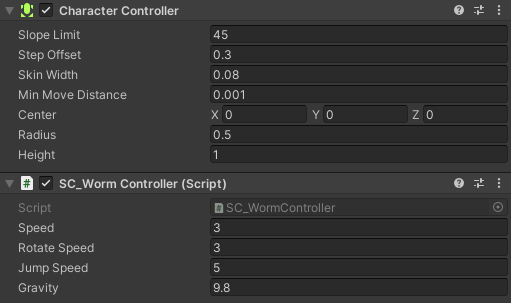
- Bifoga SC_WormController-skriptet till "Worm"-sfären (det kommer automatiskt att lägga till en annan komponent som heter CharacterController):
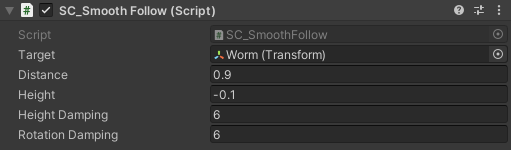
- Bifoga SC_SmoothFollow-skriptet till "BodyPart1"-sfären och ställ in dess värden på samma som i skärmdumpen nedan:
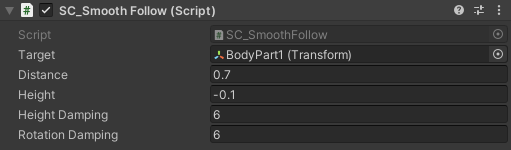
- Bifoga SC_SmoothFollow-skriptet till "BodyPart2"-sfären och ställ in dess värden på samma som i skärmdumpen nedan:
Styrenheten är nu klar, använd W, A, S och D för att flytta runt och Space för att hoppa.
Källpaketet Unity är tillgängligt nedan.